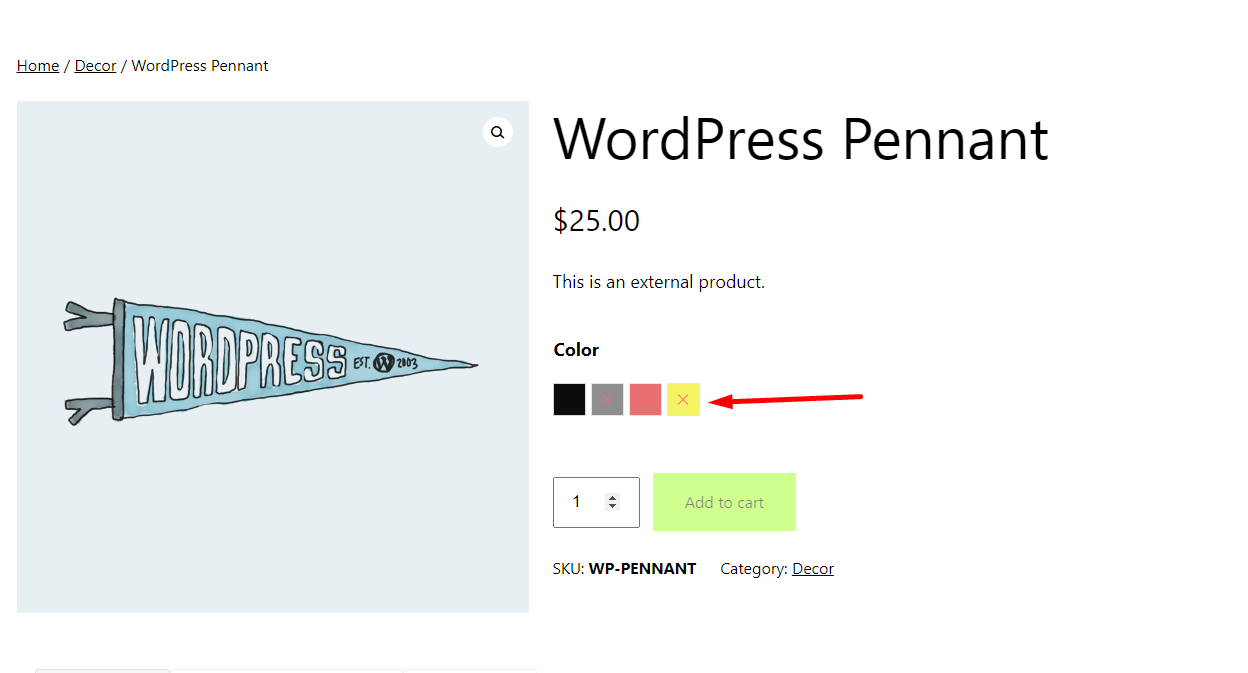
Now that you have defined the product attributes, it’s time to set up product variations to display the variation swatches on your website’s front-end.
- To configure product variations, navigate to “Products” and select “All Products.”
- Locate the product for which you want to set up variations and click on “Edit” to proceed.

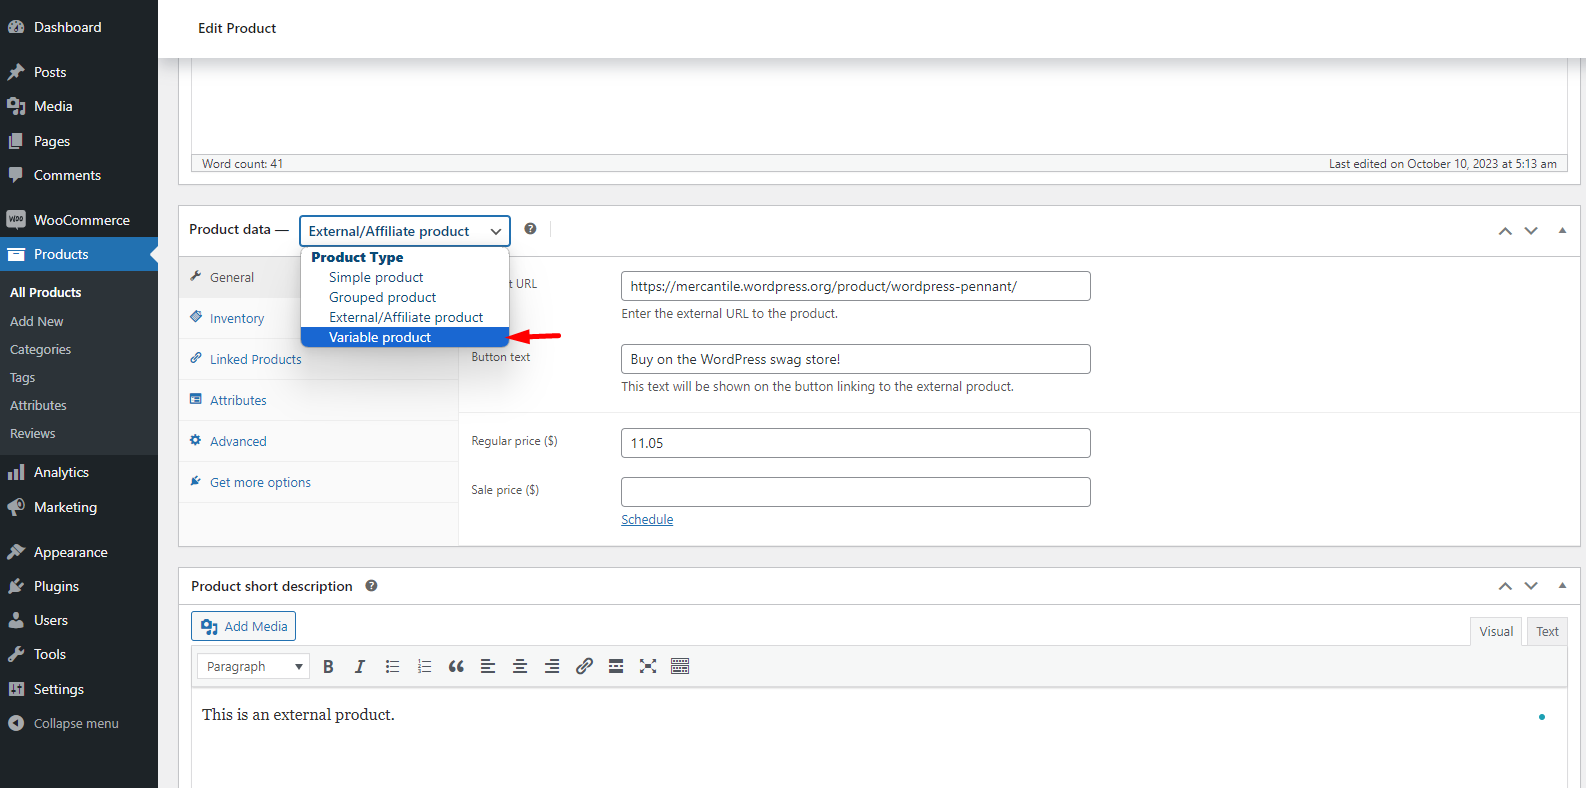
- In the product data section, choose “Variable Product” as the product type.
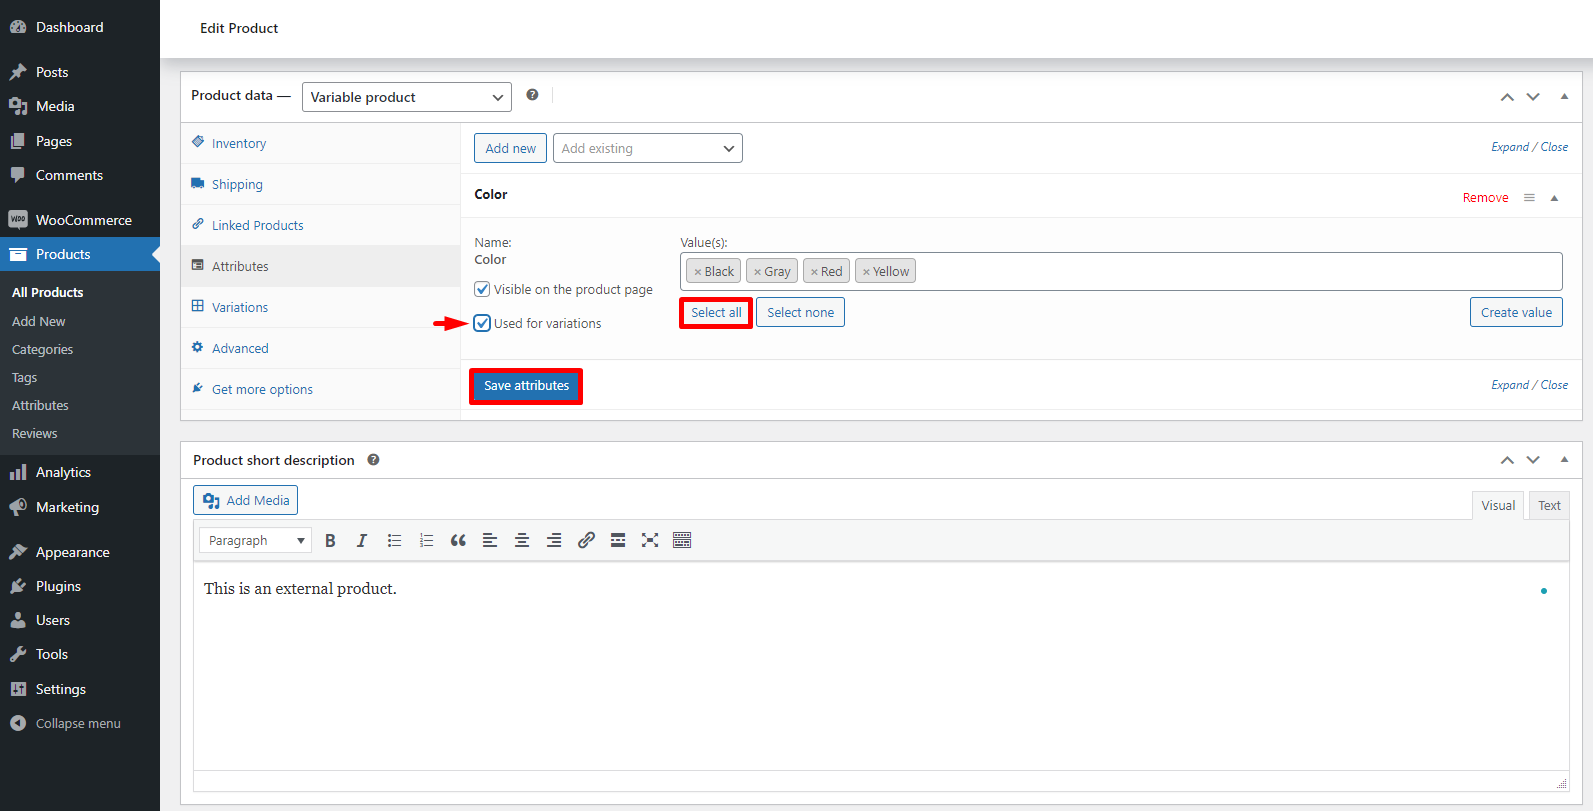
- Navigate to the “Attributes” tab and choose the attributes you wish to display on the front-end.
- Click on the “Add” button to include them in the list.

- After adding the attributes, click the “Select All” button to add all variants to the product.
- Make sure the “Used For Variation” button is checked.
- Click the “Save Attribute” button to save the changes.
- After saving the attributes, proceed to the “Variations” tab.
- Click on the “Add Manually” button to generate the variations.
- This action will add variations to the product based on the attributes you previously selected.


- For each variant, customize the image and price by opening the drop-down menu.
- Select the desired variation from the drop-down menu.
- Set a custom price for the variant by entering the amount in the “Regular Price” field.
- Add an image for the variant by clicking the image button.
- Repeat this process for other variants as needed.

- After editing the fields, click on the “Save Changes” button located at the bottom, then proceed to “Update” the product.
Last updated on March 5, 2026
Was this article helpful?
Powered by Support Genix